
Just completed a build for a new home theater PC using a great little box made by CoolerMaster, a model 110 which is a truly remarkable little case that has been obviously manufactured after considerable thought has been put into it. Just not made for fat fingers to assemble, but it sure makes cable management in a full sized system seem so easy.
Dougie has been most kind in assisting with pictures and information following a similar unit he built a little while back which helped me a lot. Thanks Dougie
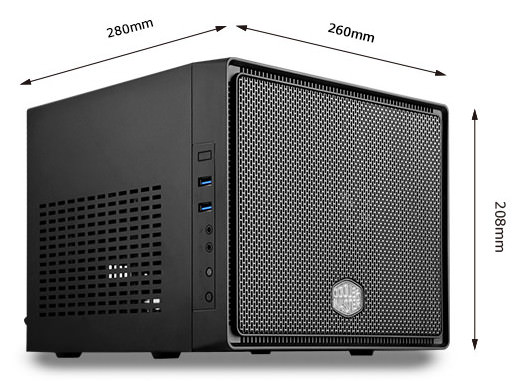
For those that may also be considering building something similar here are my thoughts on what I found and how I built this unit. This is what the case looks like and dimensions.
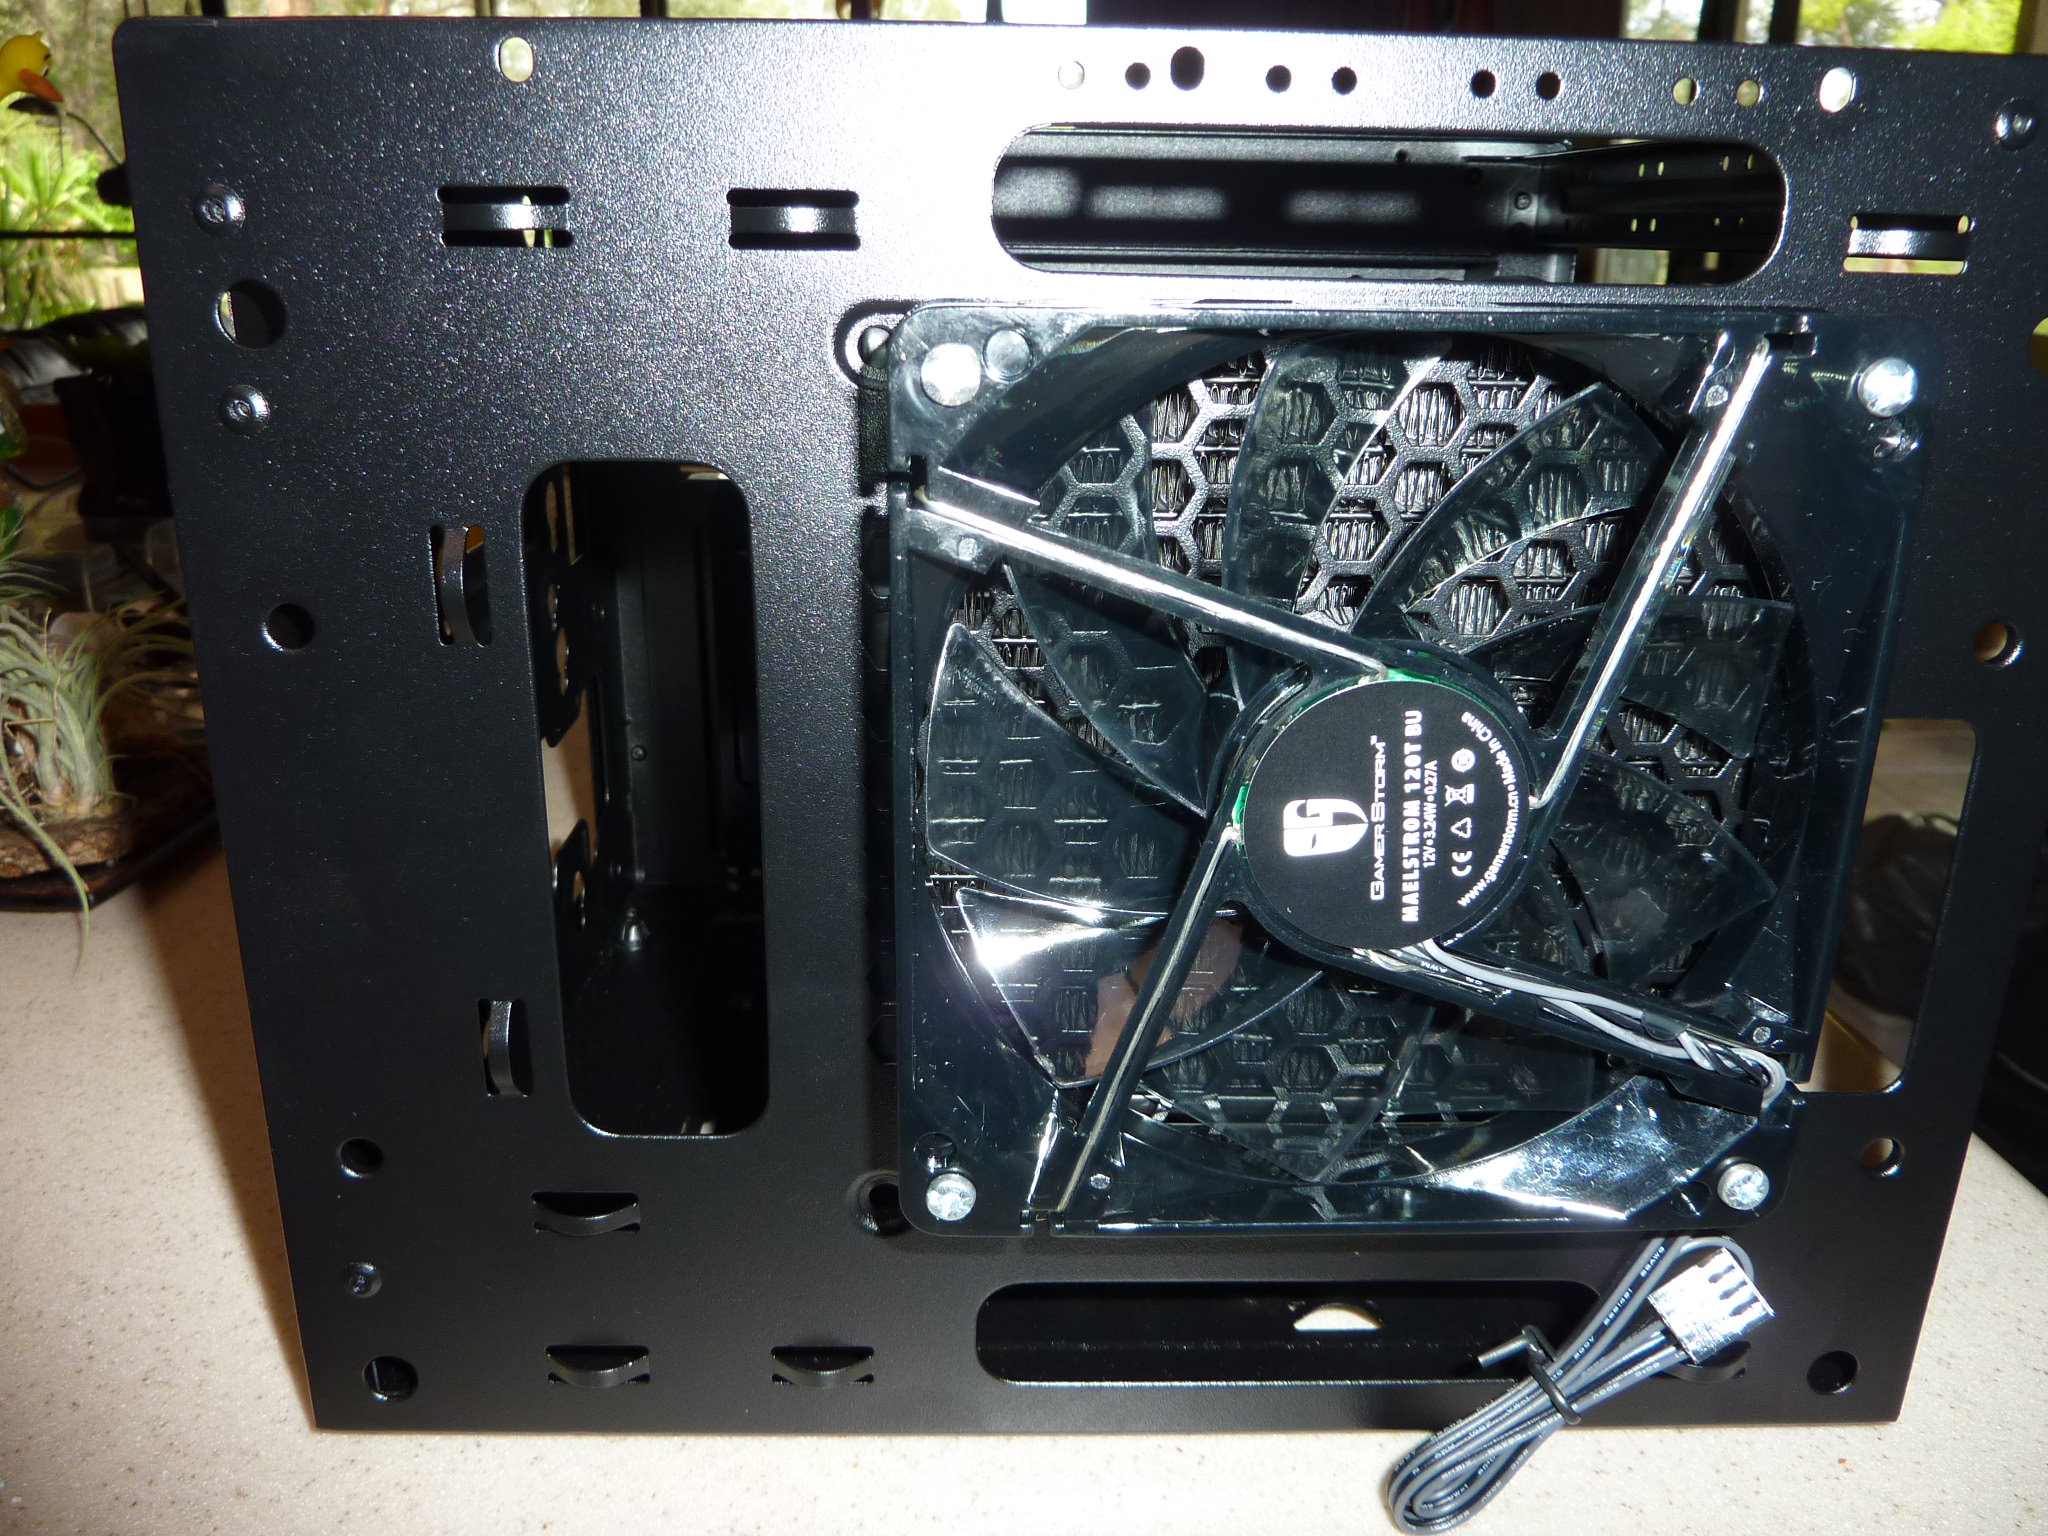
 A 120mm fan comes with the case and originally fitted to the inside of the main metal casing. The vented front panel was made from some type of plastic and clipped off easily for access. As liquid cooling was chosen because of restricted space near the power supply, the fan was removed and the 120mm fan supplied with the liquid cooler was fitted ahead of the front panel with the radiator mounted to the inside of the front panel. The fan was orientated to draw air through the radiator and out via the vented front panel cover. Here was the first minor hiccup as screws long enough to go through the fan, front panel, and short enough to secure but not damage the radiator had to be sourced and modified to suit.
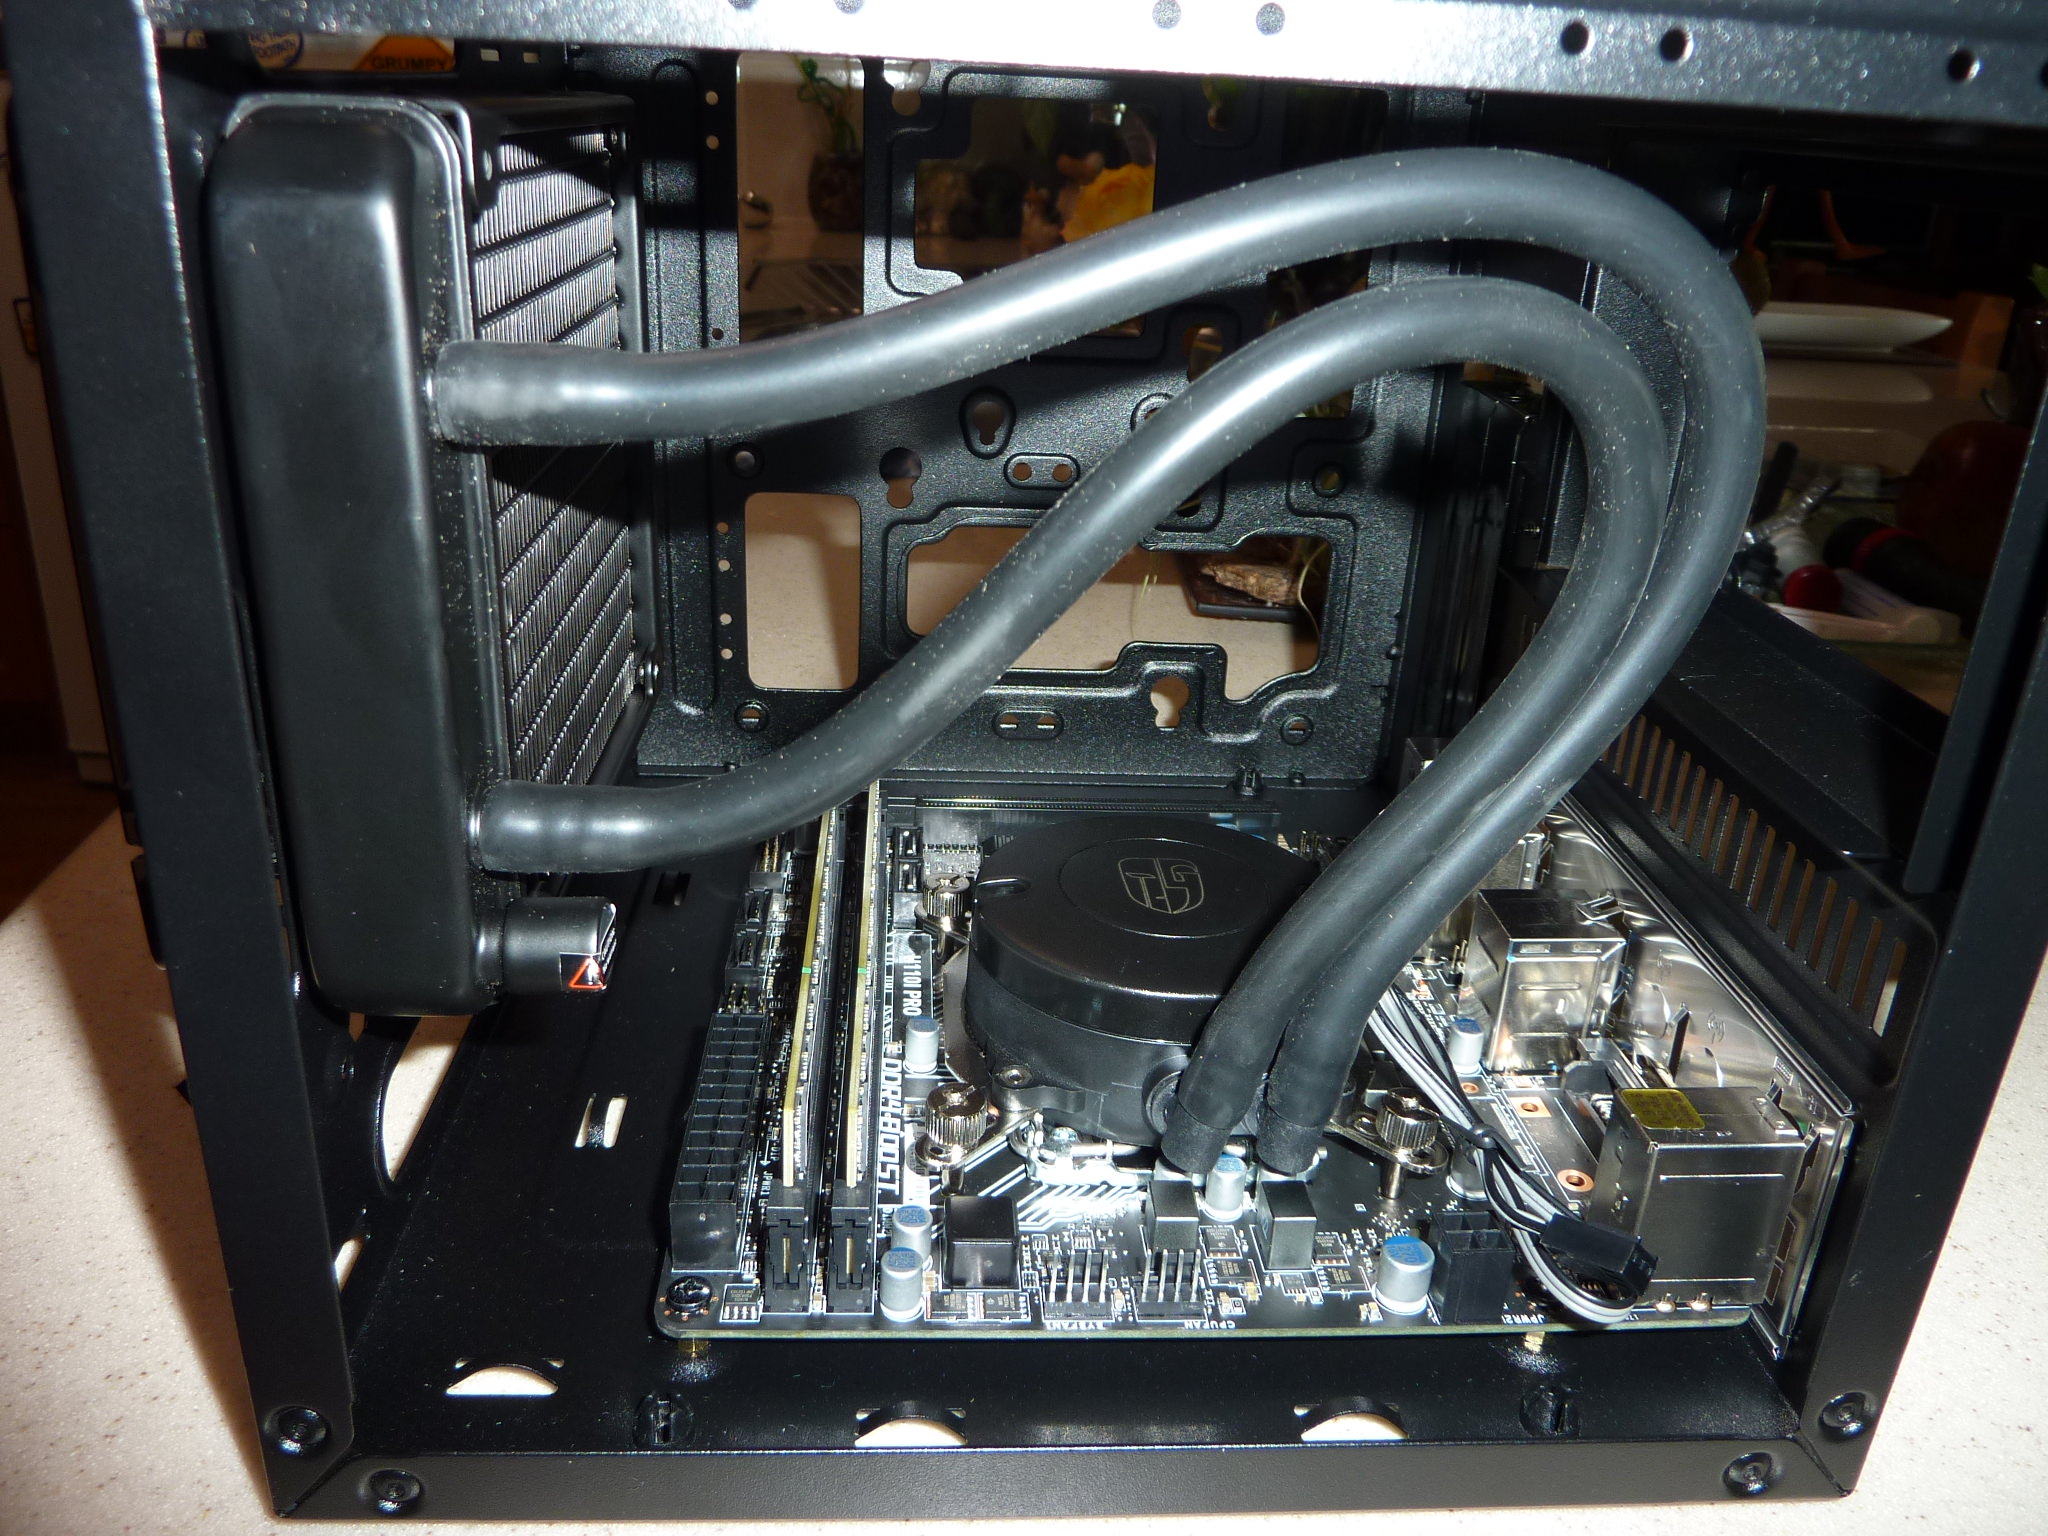
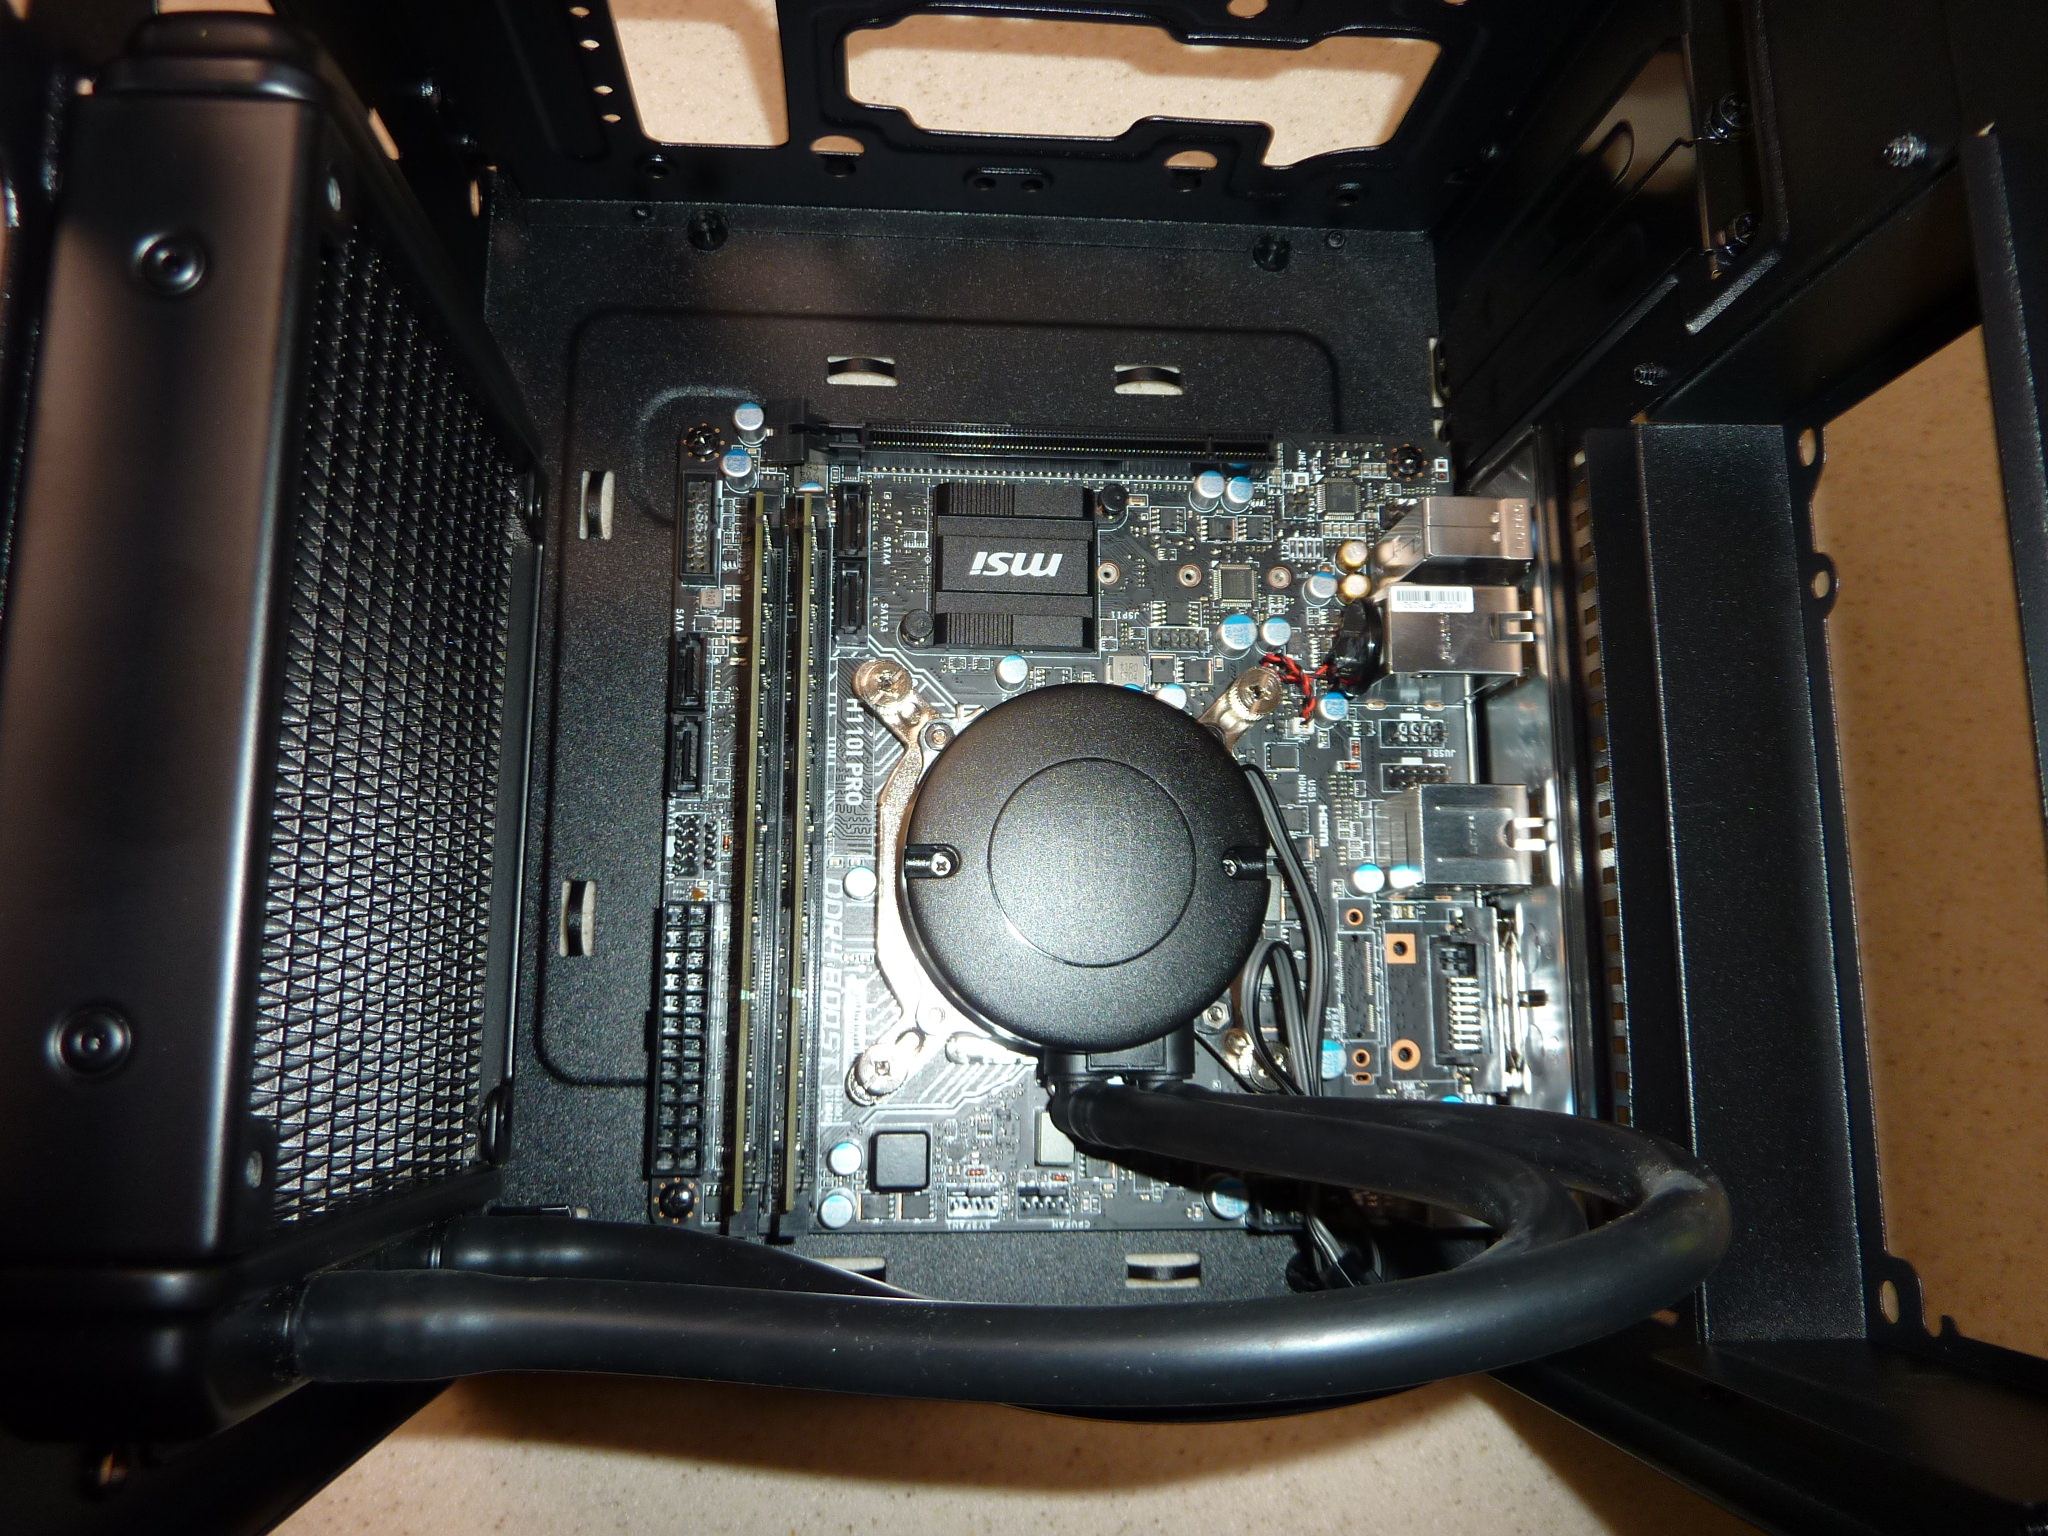
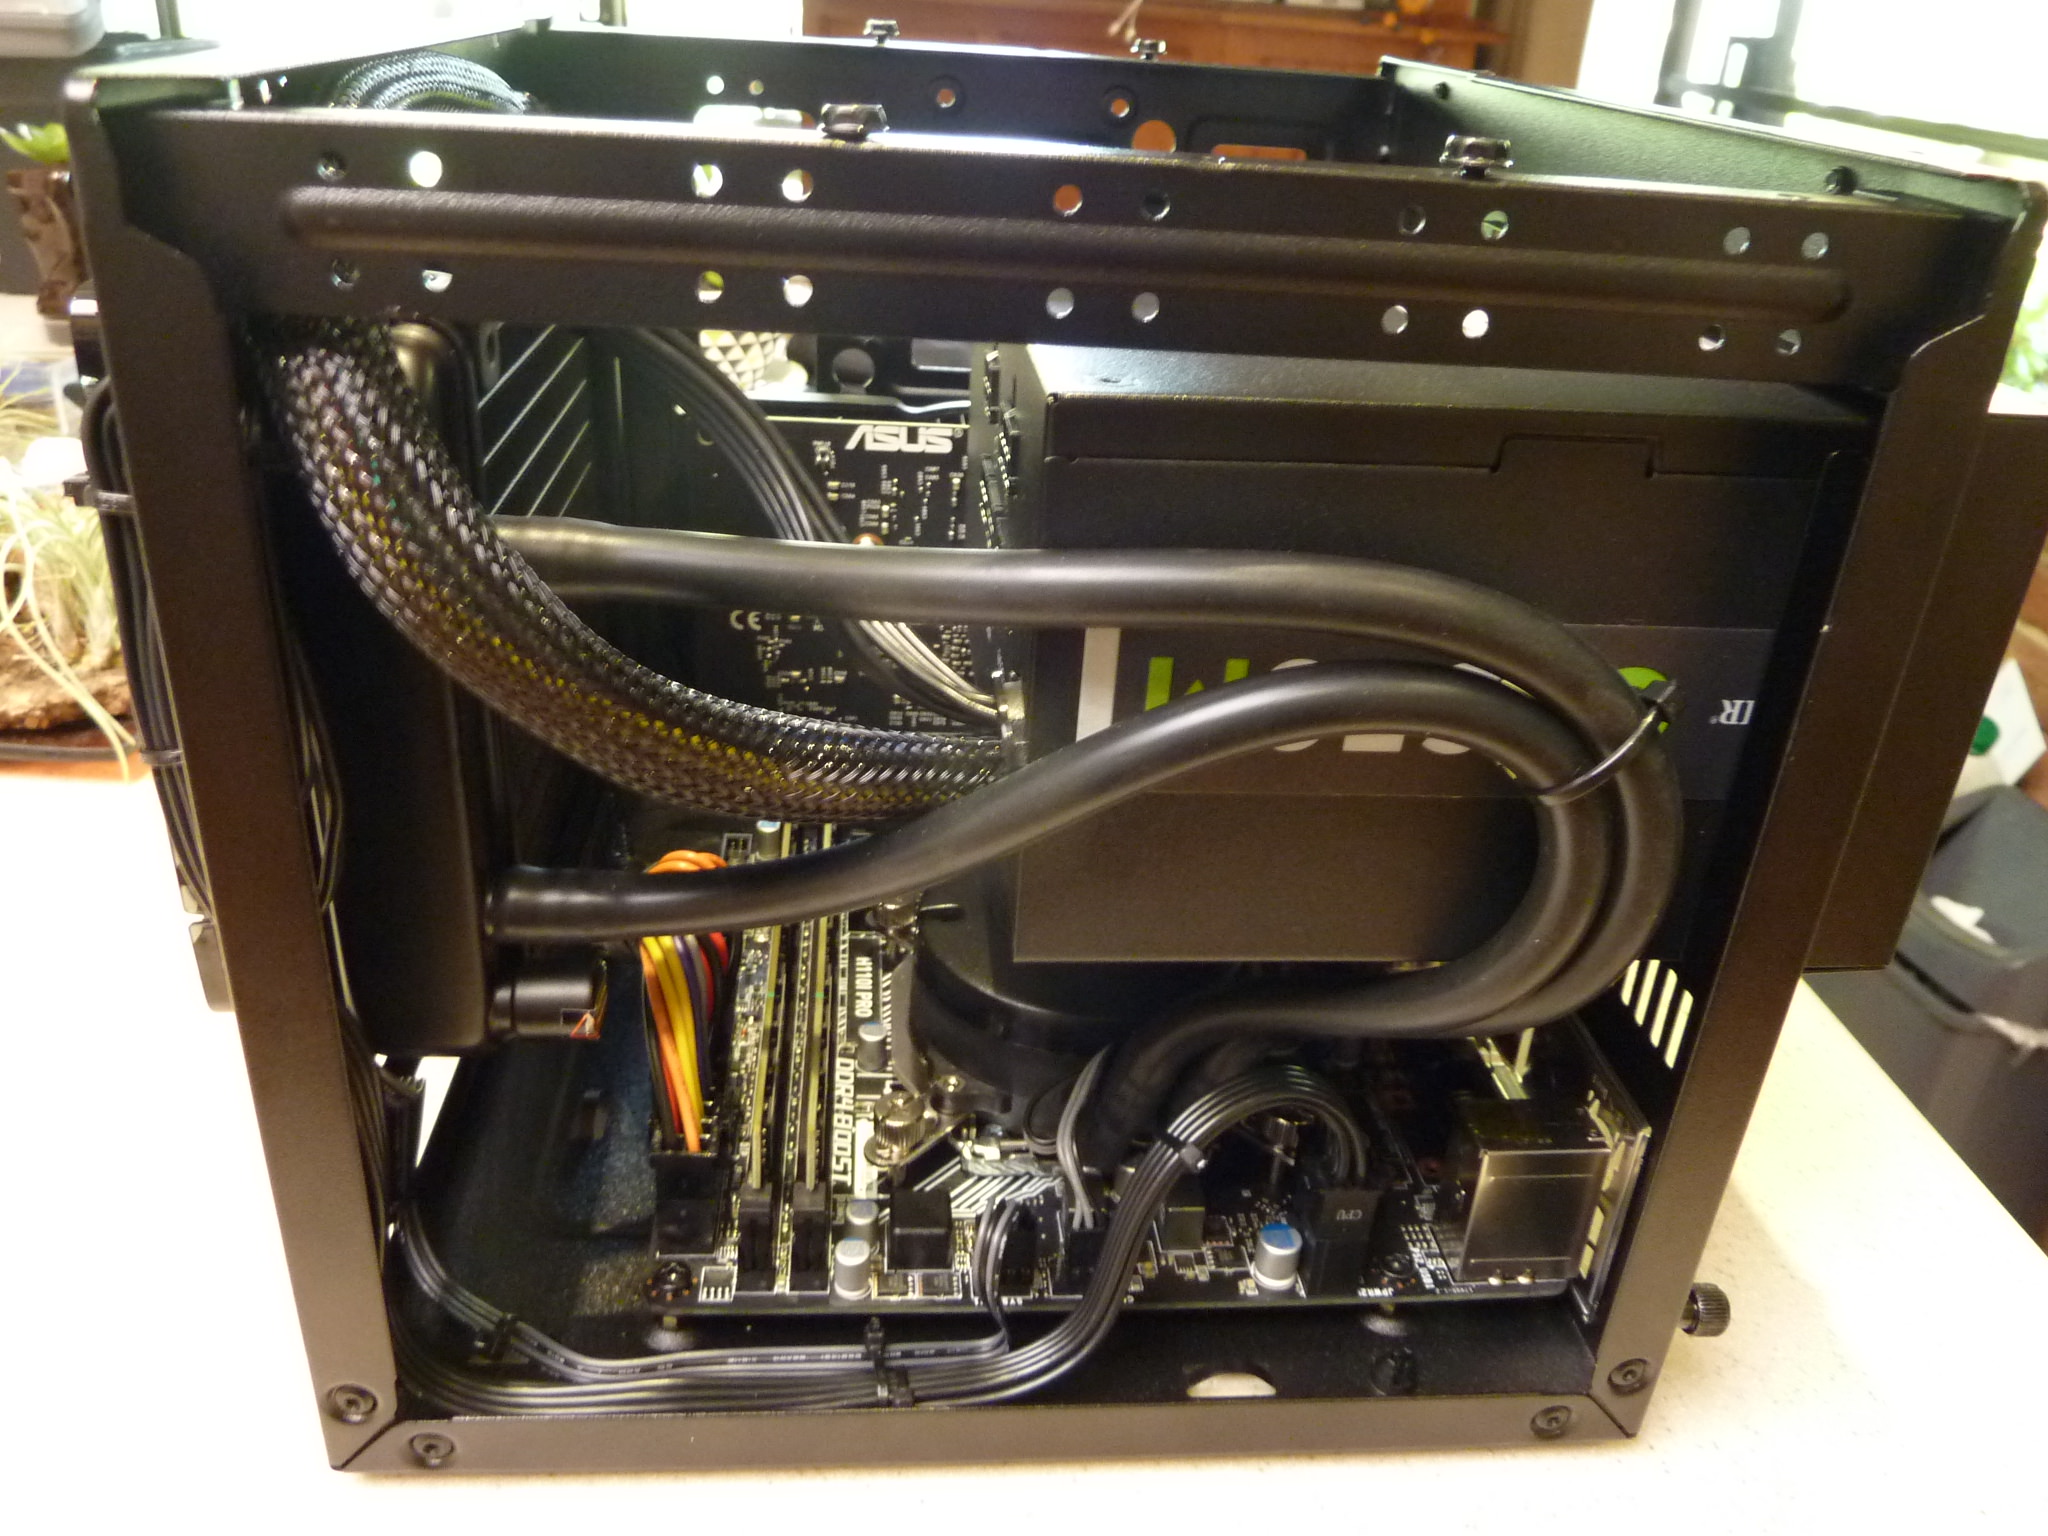
Here it is with the fan, cooling system and mainboard installed.
So far all too easy, the next picture shows the fan mounted ahead of the casing front panel. When the vented front panel is refitted to the case there is approximately 3-4mm clearance so it was noted that the front panel cabling to the switches/lights etc did not get placed between the fan and front cover when assembled later.
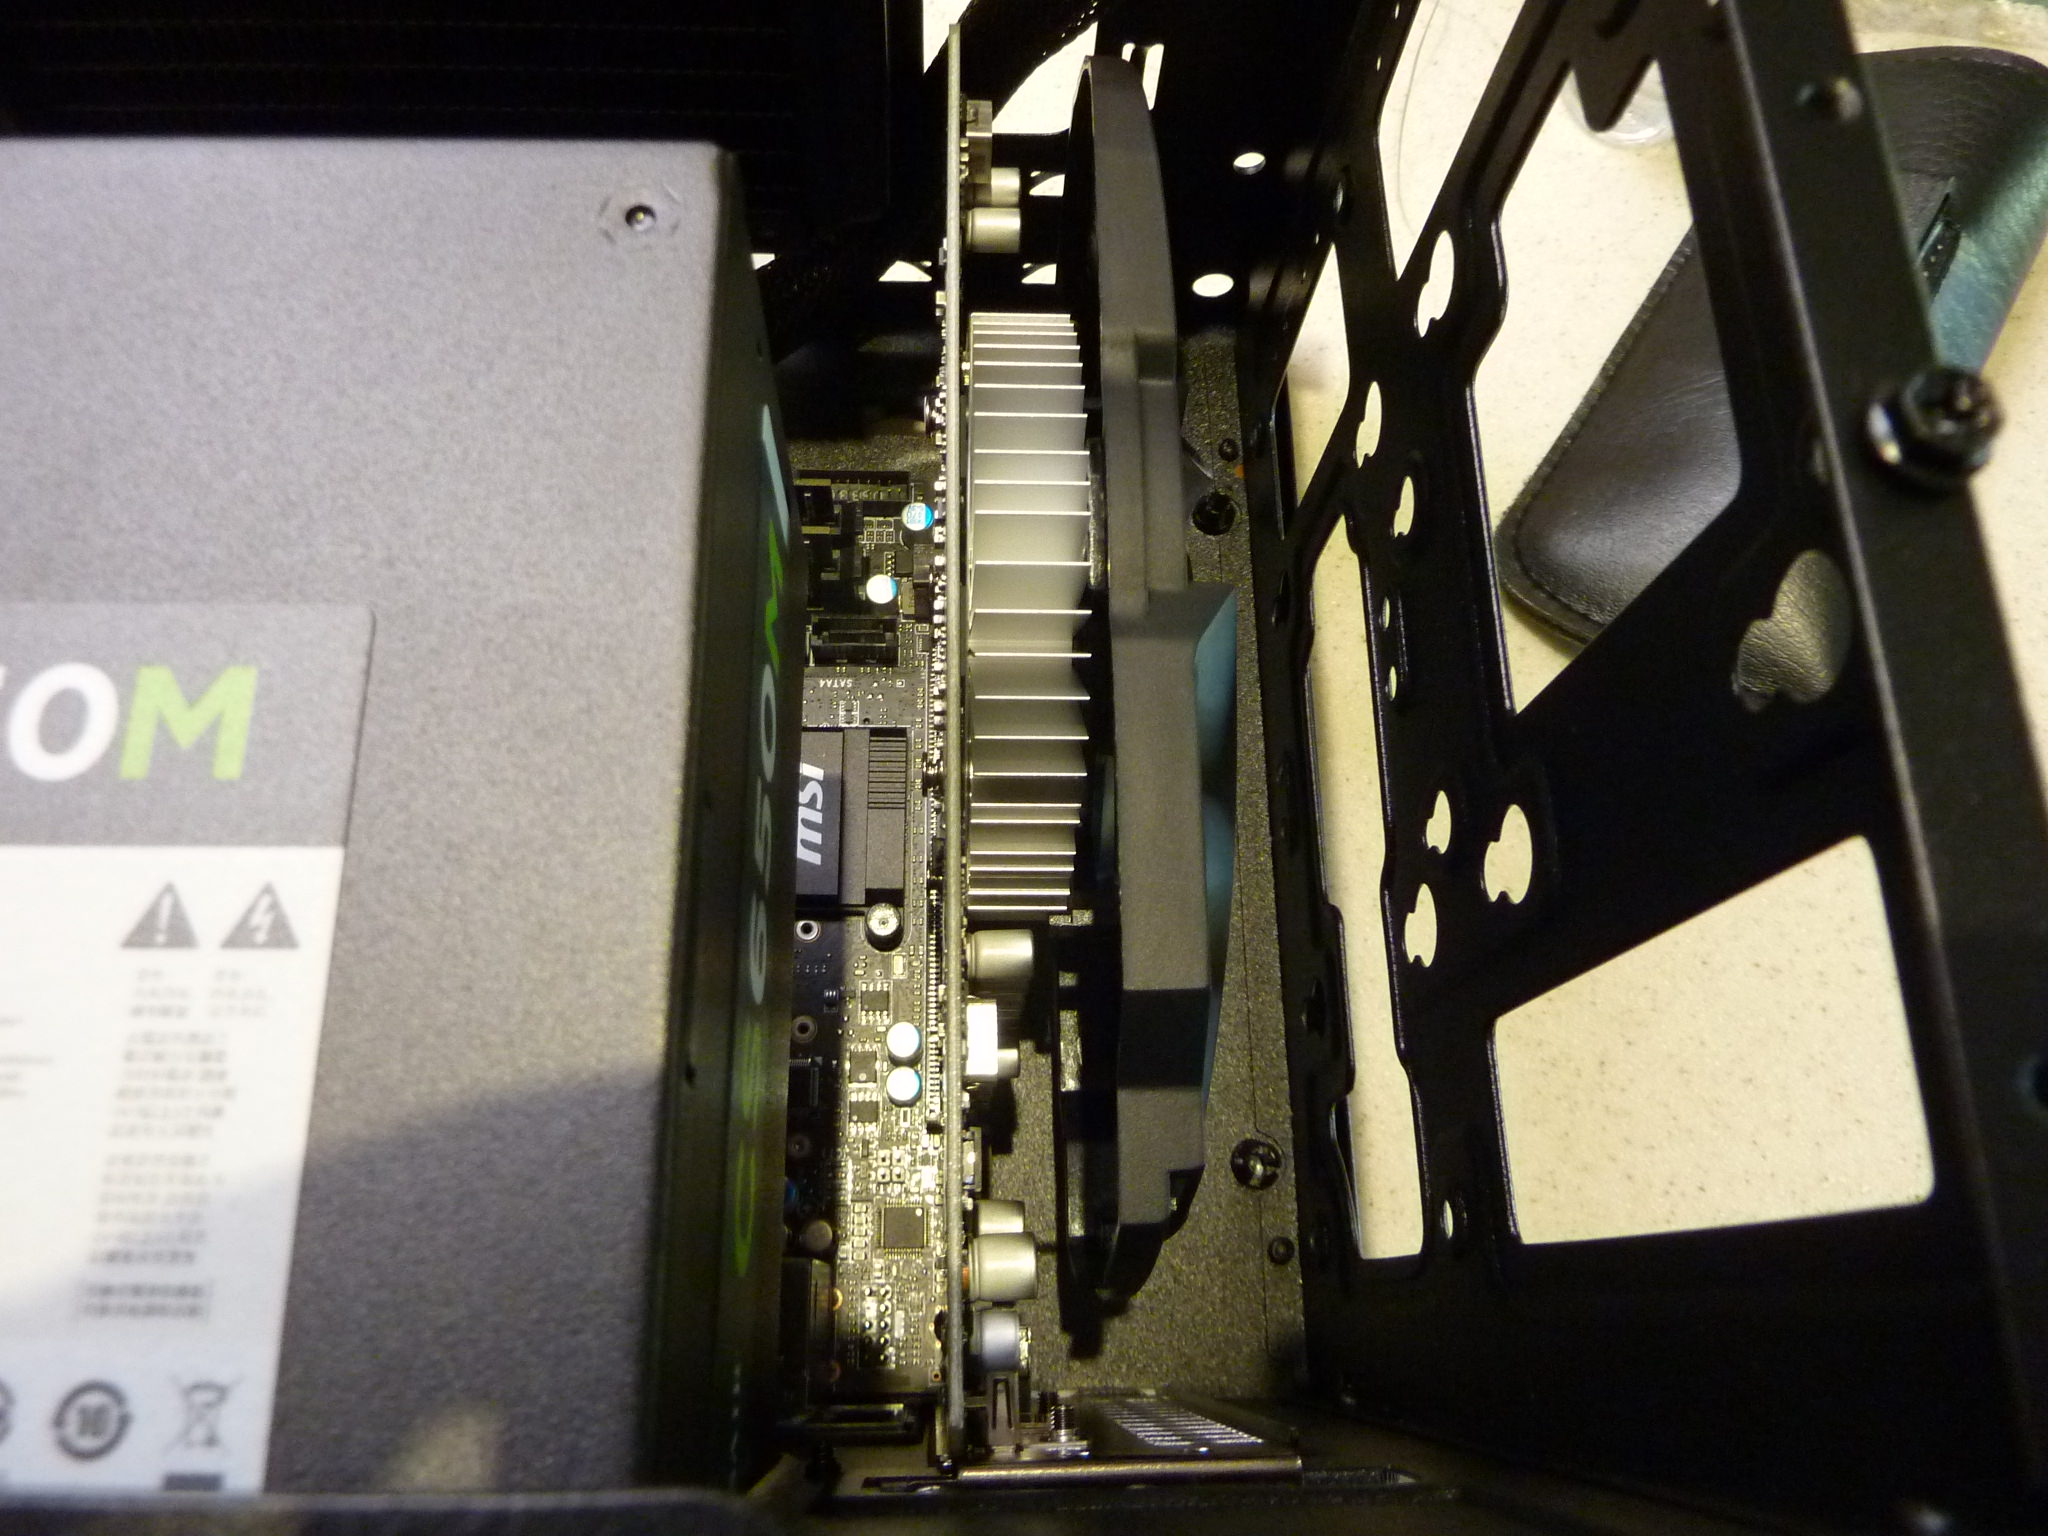
Next the power supply and graphics card test fit, and the start of the cable management ordeal. A modular power supply is almost essential for this build. The power supply was selected to be mounted with the fan to the bottom drawing air from the mainboard and cooler then venting it out the rear. This was because two drives could be fitted above the power supply instead of the casing side panel where they could affect air flow to the graphics card. Anyone attempting building in a case like this should be very aware of the length of a chosen graphics card. Whilst width is of little concern with the case being made for dual slot cards, this card is 190mm long and although cards a little longer would also fit just be careful here.
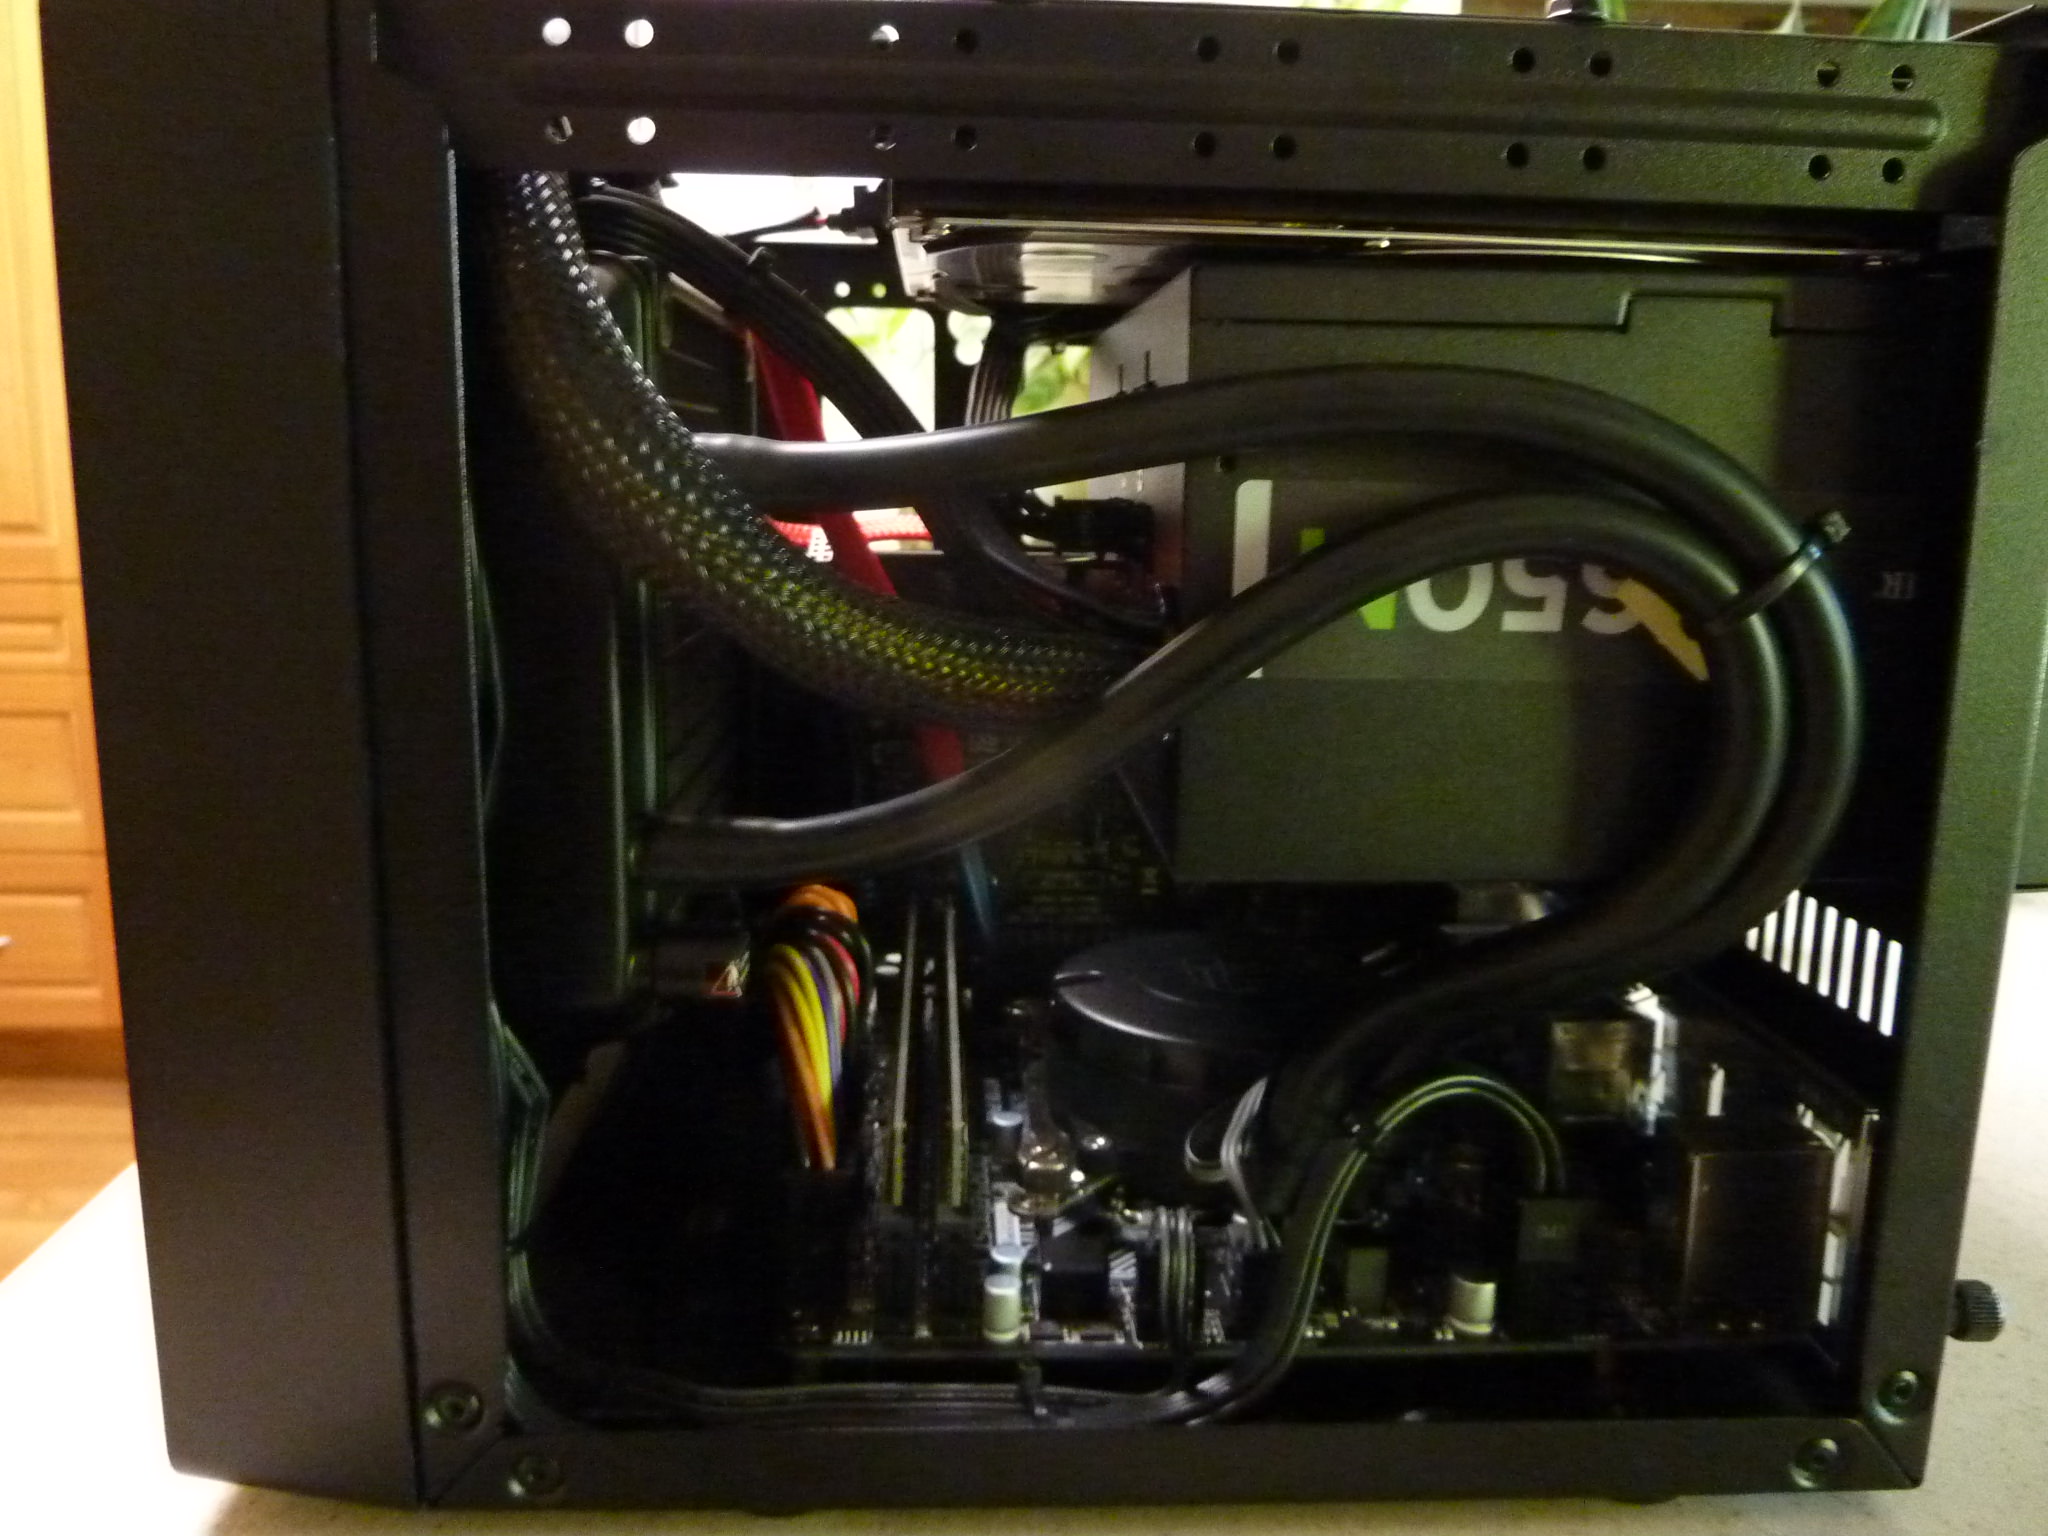
Next step was the most fiddly with connections of the front panel connections being almost impossible for my fingers. The USB3 front panel connector cable was exceptionally heavy and stiff, making it difficult to locate somewhere remotely neat. The front panel audio connectors posed their own difficulty as they had to pass below the graphics card near the rear panel header plate. After some time the front panel cables were connected and secured with many cable ties.
This left only the two hard drives, a 3.5 mechanical drive and an SSD, which fitted beautifully onto a top mounting plate removed at the start of the build.
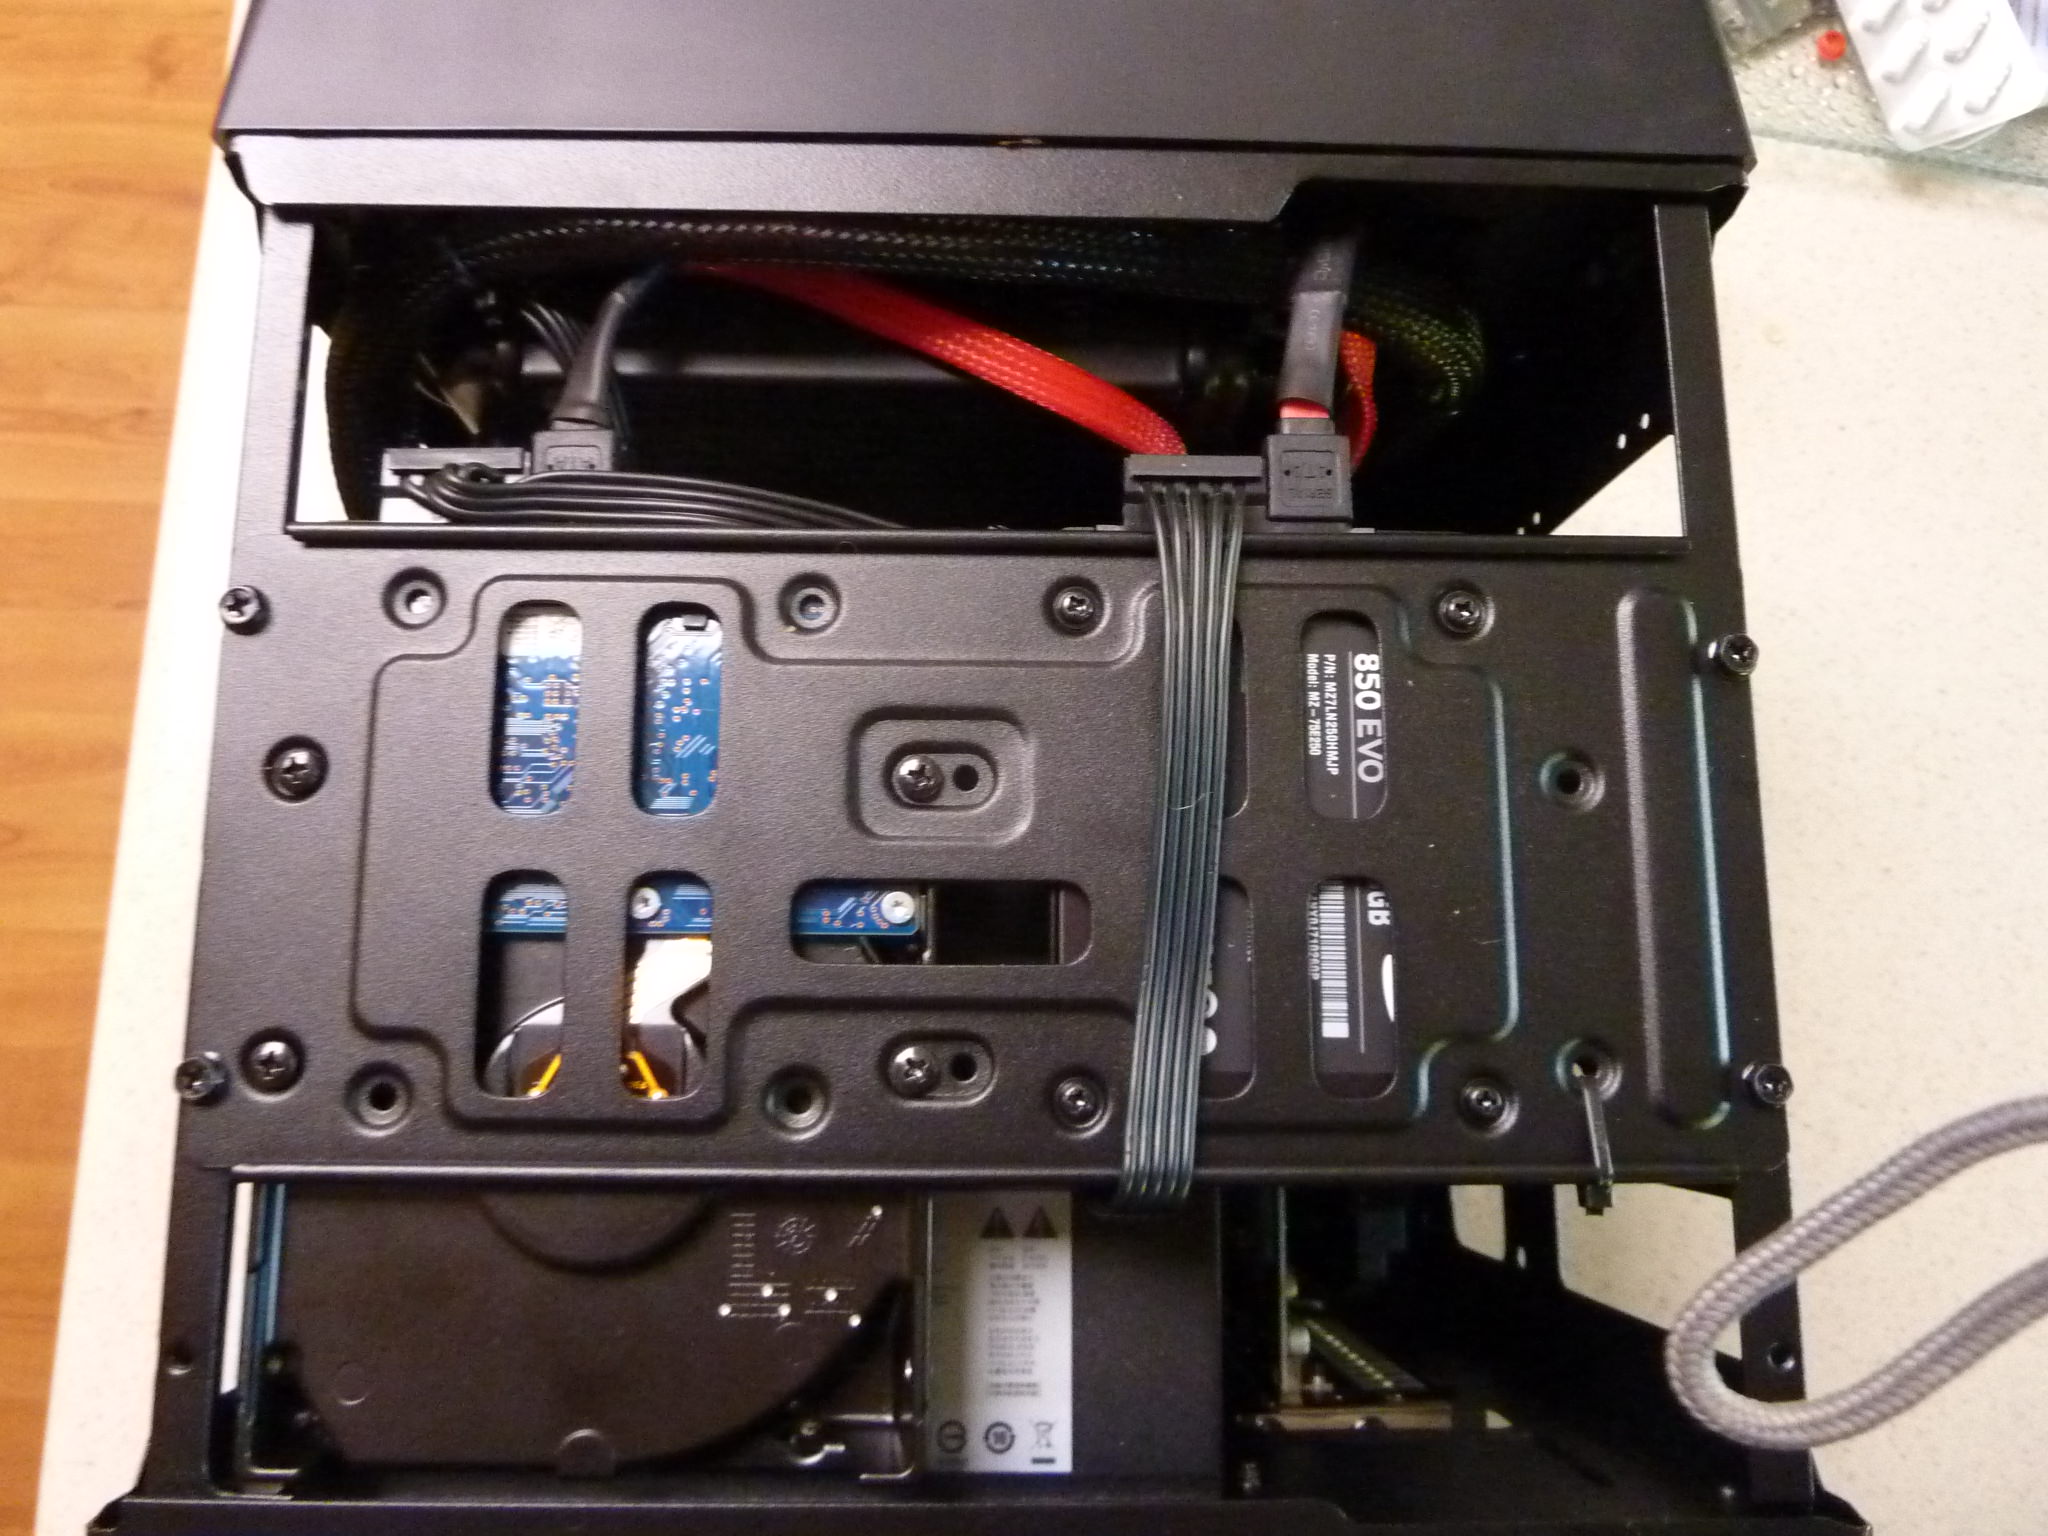
This picture shows the close proximity of the mechanical drive to the power supply, and why the power supply was fitted with the fan facing down.
Not the easiest of builds but a great little unit that probably is a little overkill for its intended purpose but it runs very nicely and the temperatures are very very good.
The components used for this were:
MSI H1101 pro mainboard
skylake I7 6700K
16Gb Gskill ram
Maelstrom 120T cooler
Asus Nvidia 2Gb 1050 graphics
Corsair CS650M PSU
Samsung 850 Evo 256Gb system drive
Toshiba 2Tb data drive
Probably could get by without a graphics card and extra hard drive but its done and runs great.
Dougie has been most kind in assisting with pictures and information following a similar unit he built a little while back which helped me a lot. Thanks Dougie
For those that may also be considering building something similar here are my thoughts on what I found and how I built this unit. This is what the case looks like and dimensions.
Here it is with the fan, cooling system and mainboard installed.
So far all too easy, the next picture shows the fan mounted ahead of the casing front panel. When the vented front panel is refitted to the case there is approximately 3-4mm clearance so it was noted that the front panel cabling to the switches/lights etc did not get placed between the fan and front cover when assembled later.
Next the power supply and graphics card test fit, and the start of the cable management ordeal. A modular power supply is almost essential for this build. The power supply was selected to be mounted with the fan to the bottom drawing air from the mainboard and cooler then venting it out the rear. This was because two drives could be fitted above the power supply instead of the casing side panel where they could affect air flow to the graphics card. Anyone attempting building in a case like this should be very aware of the length of a chosen graphics card. Whilst width is of little concern with the case being made for dual slot cards, this card is 190mm long and although cards a little longer would also fit just be careful here.
Next step was the most fiddly with connections of the front panel connections being almost impossible for my fingers. The USB3 front panel connector cable was exceptionally heavy and stiff, making it difficult to locate somewhere remotely neat. The front panel audio connectors posed their own difficulty as they had to pass below the graphics card near the rear panel header plate. After some time the front panel cables were connected and secured with many cable ties.
This left only the two hard drives, a 3.5 mechanical drive and an SSD, which fitted beautifully onto a top mounting plate removed at the start of the build.
This picture shows the close proximity of the mechanical drive to the power supply, and why the power supply was fitted with the fan facing down.
Not the easiest of builds but a great little unit that probably is a little overkill for its intended purpose but it runs very nicely and the temperatures are very very good.
The components used for this were:
MSI H1101 pro mainboard
skylake I7 6700K
16Gb Gskill ram
Maelstrom 120T cooler
Asus Nvidia 2Gb 1050 graphics
Corsair CS650M PSU
Samsung 850 Evo 256Gb system drive
Toshiba 2Tb data drive
Probably could get by without a graphics card and extra hard drive but its done and runs great.
